Using the Elementor Lottie Widget To Animate Your Websites
The Elementor Lottie Widget is an awesome new tool for web creators. While I originally labeled it as “cute,” I am finding more useful and a way to present our feature. We will build a cabin in this tutorial.
Let’s Start Building
Here is a demo.
Creating Our Cabin
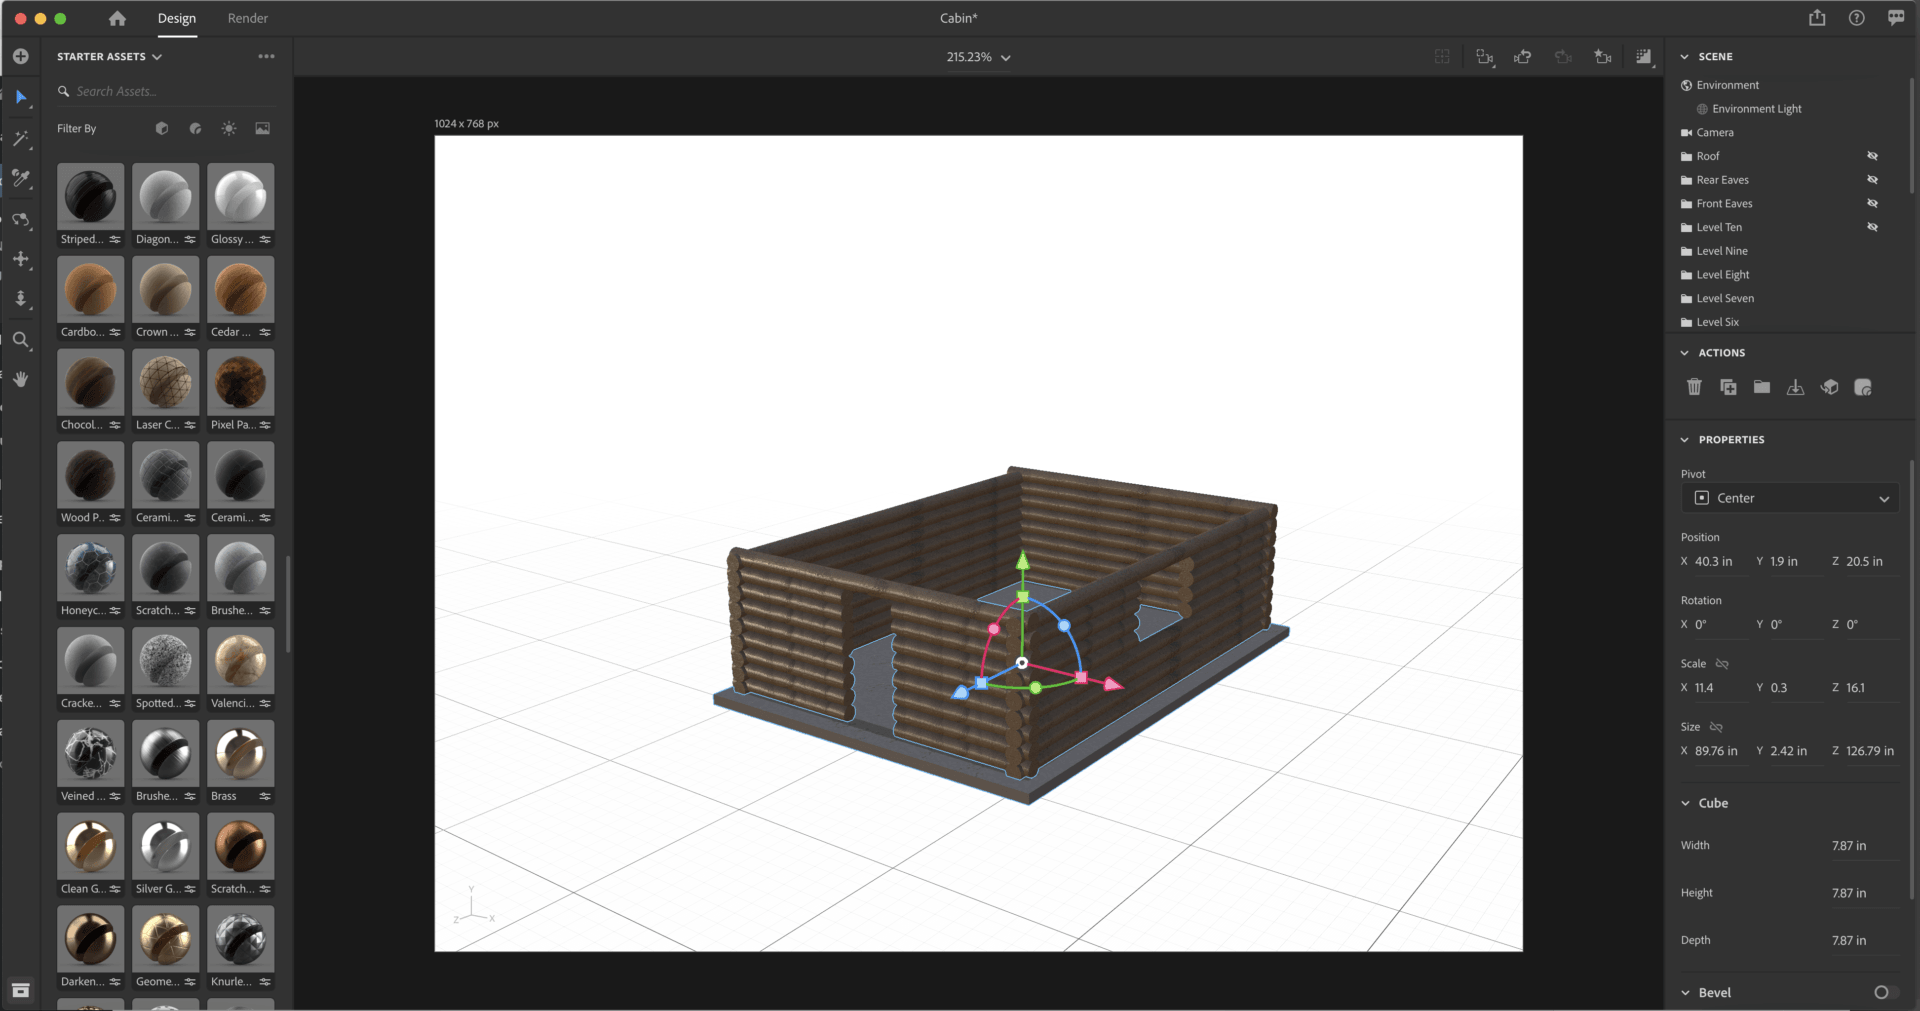
We first need a model. I am going to use Adobe Dn to create a basic structure. I will use the cube and cylinder assets to create my cabin.
Add A Foundation
It all starts with a foundation. I added a cube and set the Y to thin and sized. For color, I added the cracked cement filter.

Start The Walls
Next, we use the cylinder widget to create five logs and set them on the foundation. I left a gap for a door. I used the wood textures to create the skin, We can duplicate this layer several times to the right level we need.

Lets Let Some Air In
I now create a new layer with a gap for a window and duplicate this layer as needed.

Finish The Walls
We can now finish the walls with four logs up top.
Add The Roof
Here I am stacking layers of logs with diminishing widths. I then do the same for the back. We wont see these in this render, but if we need different angles of the cabin later, it is done.

We will create our roof with two more cubes and angles. We texture and color as desired.

Rendering Our Layers
Next we need to render each of our twelve layers to Psd files. This will let us optimize them for final animation in Ae.

Optimizing in Photoshop.
We can open these files now in Ps and take out the background layer, and make final edits.

Saving Our Files For Ae
When creating Lottie files, the final size of the Lottie will depend on all the pieces of the puzzle. Save each layer at 50% for better final size.

Animate In After Effects
Here I have added all my layers to Ae and re-constructed my cabin. I begin animating each layer to drop in from the top at 3 marker intervals


Repeat this till all layers drop in from the top. For each layer, I am only using keyframes on the Y position. You will need to adjust each to fit the need of your projects speed.


Export With Bodymovin Extension
Use the Bodymovin extension to render the JSON file for our Lottie Widget You can download this from the Lottie website. Add it to your Ae extensions. We will be rendering with this rather than creating a movie file.

Include The Files In Assets.
This is needed for the png files to show up on the website. In Settings > Advanced tick include Images. You may also adjust the compression levels here.

Add To Our Website with The Lottie Widget.
We can now use the Elementor Lottie Widget to upload and display our JSON file.

Set to Scroll Animation
In the widget settings. Try using the scroll trigger animation function, Test in both desktop and mobile for the best results.

Happy Building!
Tutorial Is Free For Personal Use Only.
Please do not use this for commercial websites. It is for personal creative learning use only. If you would like us to create a file for your commercial project, ask us.