How To add Lottie or Bodymovin Animations to an Elementor Page with the WP Bodymovin Plugin.
This tutorial is now out of date: Elementor has released a new Lottie Widget as of Pro 2.10. If you are a Free user, then you can still use this.
Video Walkthrough
Install WP Bodymovin
Find A Lottie File
Find a Lottie File you wish to use and click the download JSON file button.

Create A New Animation
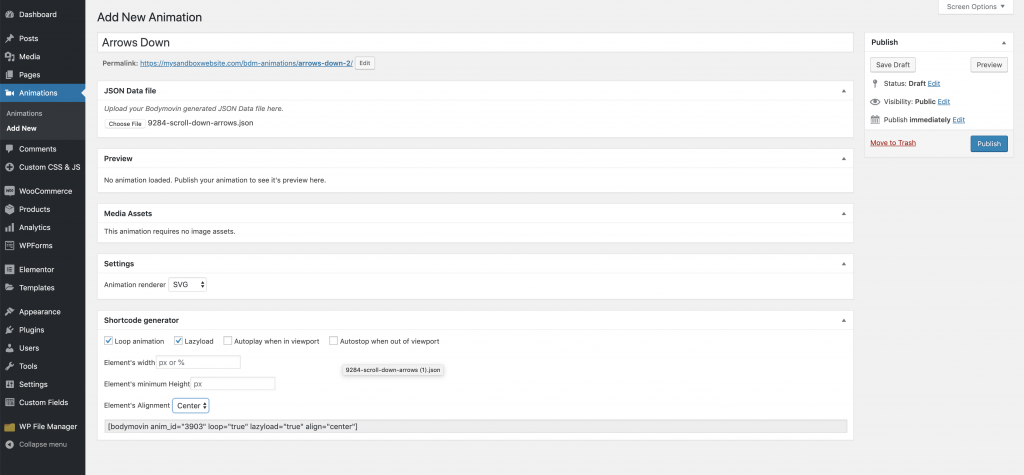
On the Dashboard menu, navigate to the Animations menu. Click Add New link to create a new one. Add your downloaded JSON file and use the shortcode generator to create a shortcode. Click Publish
Return to Home Page Or Place You Wish To Display.
Add An Html Block To Page
Chose the HTML widget from our list of tools. Drag it onto the page to the desired location.
Add Our Shortcode
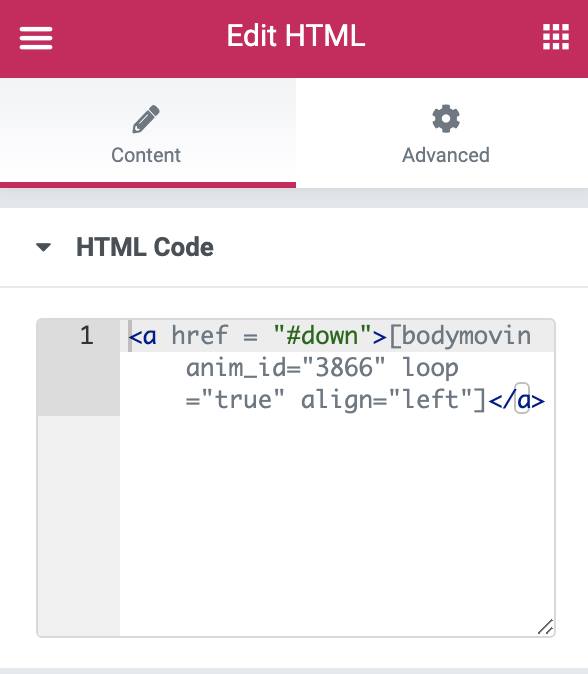
Make It Clickable With “A” Tags
To make it clickable to a link or anchor. We need to place the shortcode inside an HTML code for links. You can make this click to another page, popup, or anything else you need.
<a href = "#"> Lottie Shortcode </a>Paste the shortcode of our animation into the box. It should be added to a dark or black section since it has white arrows. It will not show up until you view the live page, do not panic. Publish your changes.
Use Anchor Widget To Target
You can have your down arrows link to the bottom of the page by selecting an anchor widget. Place this on a page and set the ID to “down” no #.
View Your Page
Your animation is now viewable and clickable.